 Tissue paper Pom-Poms add a festive flair to a wedding and reception. They are very easy to make and at a cost of under $5, you will get a lot of bang for your buck.
If you want to make decorative pom-poms, I’ve put together detailed instructions for you below.
I have found that they turn out looking great, even if you don’t do a perfect job of folding, cutting, etc.
Before you begin, you’ll need the following supplies:
1. Sharp scissors to trim the ends of the pom-pom
2. Cable ties, pipe cleaners, floral wire or monofilament fishing line to secure the center of your “accordion stack”.
3. Monofilament fishing line if you are going to hang your pom-pom
Cable ties, floral wire, and monofilament fishing line can be purchased online at places like Amazon or at a craft store.
Start with tissue paper approximately 20″ x 30″. The package
used in the instructions has 10 sheets and it makes a nice, full pom-pom.
It is from Exclusively Weddings, item #107-1710.
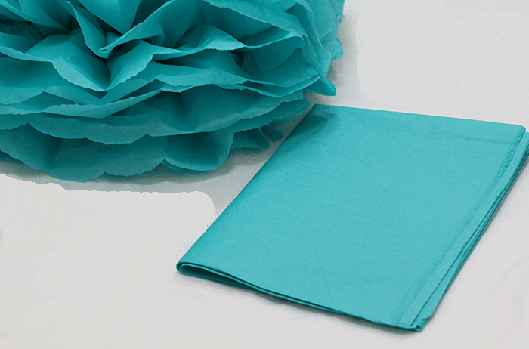
There are two ways to approach this project. One way is to open the stack all the way and start folding at the shorter side. Or the other choice is to leave one fold in the stack of tissues (as shown below) and start folding at the folded side, which is the approach shown here. 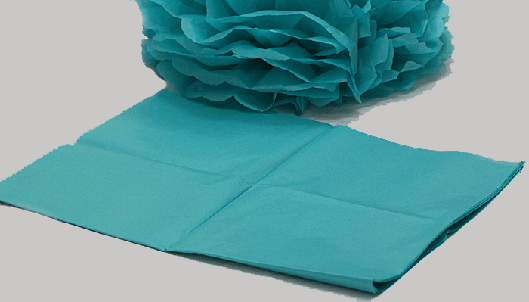
Starting at the folded side, fold the tissue in an accordion fold with each fold about one-and a half to 2 inches wide. The photo below is of a finished accordion stack.

The next step is to secure the folded tissue in the center of the accordion stack. Use a pipe cleaner, floral wire. monofilament fishing line or a cable tie. A cable tie was used below. If you are going to hang your pom-pom, go ahead now and attach the monofilament line to whatever you used to secure the center. Monofilament fishing line works well because it is somewhat invisible. Just tie the length you want to the cable tie. If you want to hang your pom-poms with something decorative, you can use ribbon.
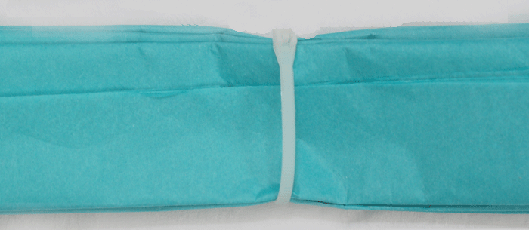
After securing the tissue, trim each end, with scissors, in to a rounded shape or pointed shape, as shown below. Then start separating the first piece of tissue and pulling it away from the folded portion and continue doing this with all the pieces. The next three photos below show this step in process.
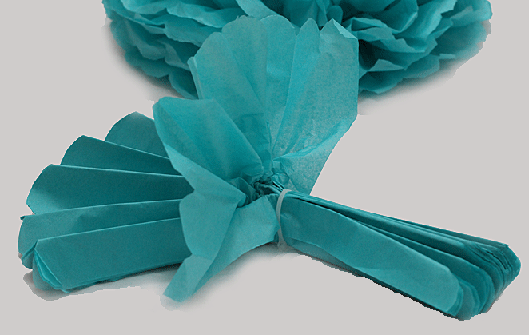
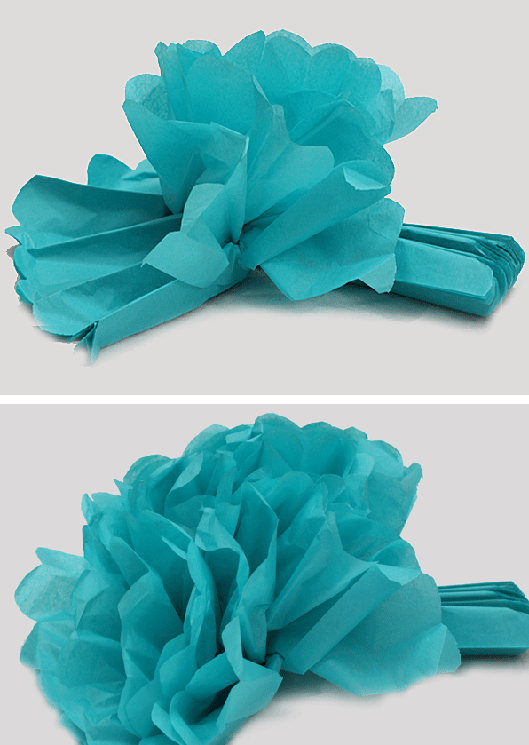
After all pieces have been pulled out, you can now adjust and fluff the pieces to get it “perfect”.
Voilà! The finished Pom-Pom!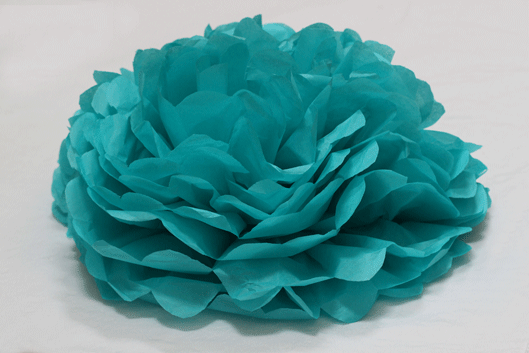
In this photo the pom-pom on the right was made following these instructions. The one on the left was made with the tissue paper opened out entirely. The one on the right is a little bit smaller and is shaped a ittle more like a flower.
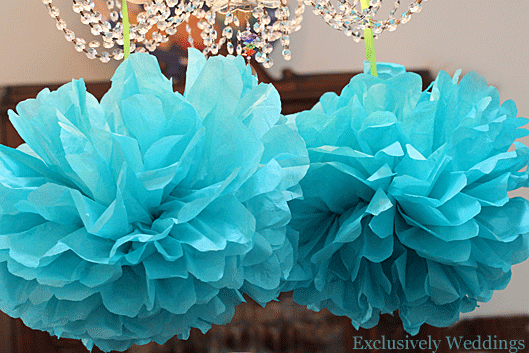
See our blog post for lots of pictures and info about pom-poms and our Wedding Lanterns and Pom-Poms Pinterest Board, as well.
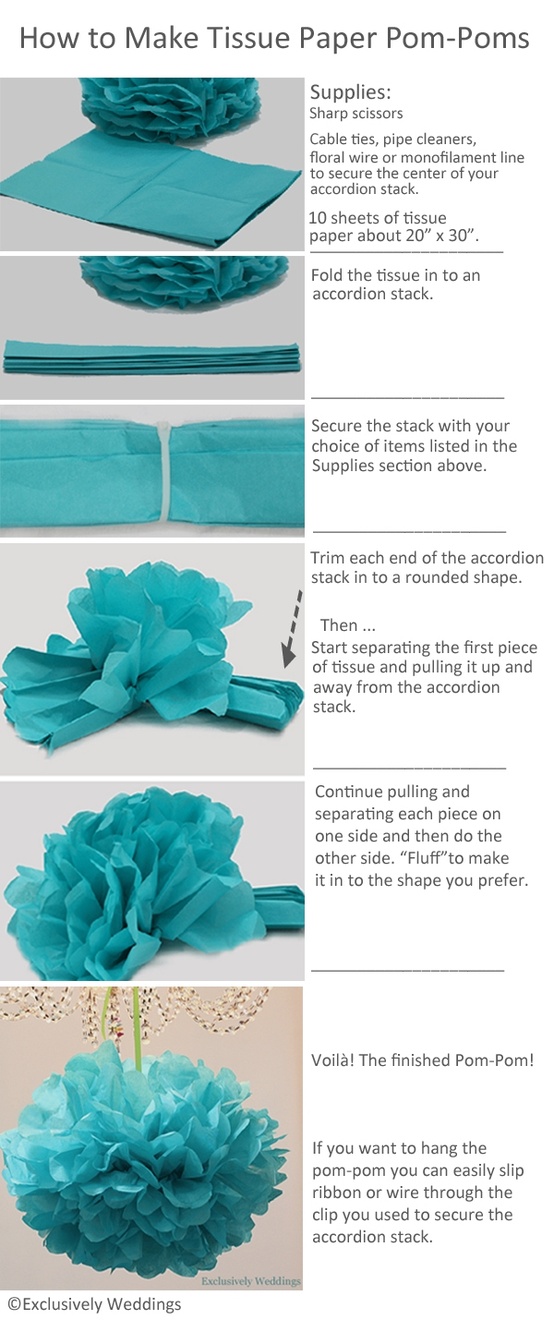
In case you want to print out the instructions, here are the instructions in an abbreviated format.
If you have any questions, please don’t hesitate to ask in our Comments section. I’ll be glad to help you!


